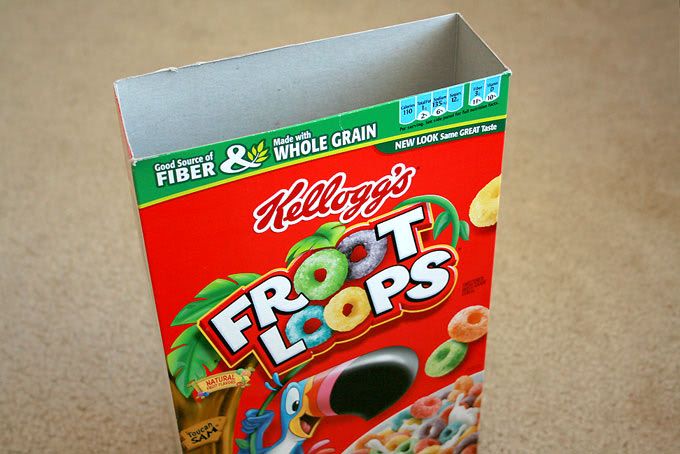
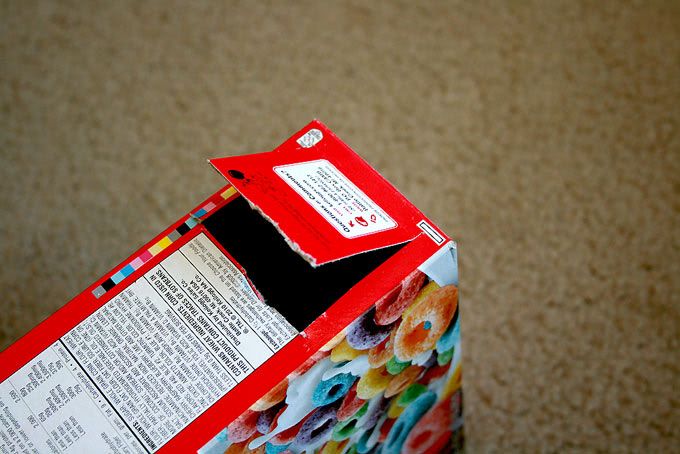
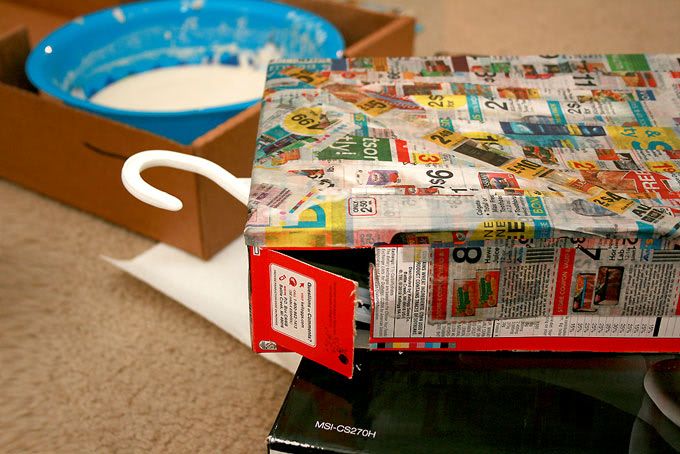
Start by cutting the top off of a large cereal box. Then turn the box on it's end, pick a side and cut a small, hinged, opening like so:
{edit} I discovered that there is a need to add more weak point to the pinata unless you really want to give the kids a workout! So, I would recommend cutting out "break-a-way" panels into the body of the box as well. I plan to do so with the next pinata I make. Simply cut a few squares out at random and cover them like you will the bottom. {/edit}
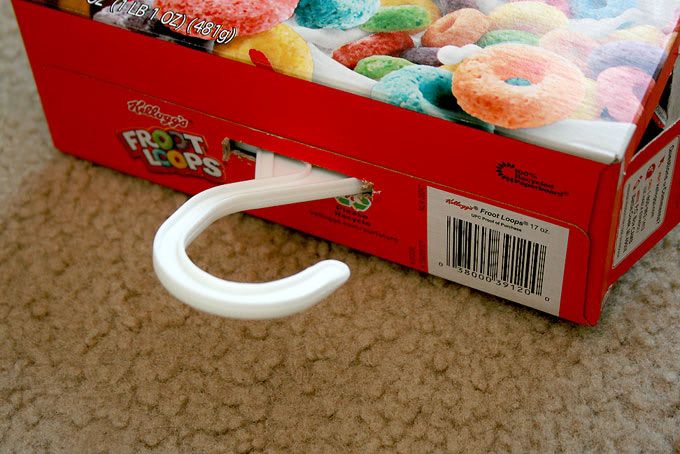
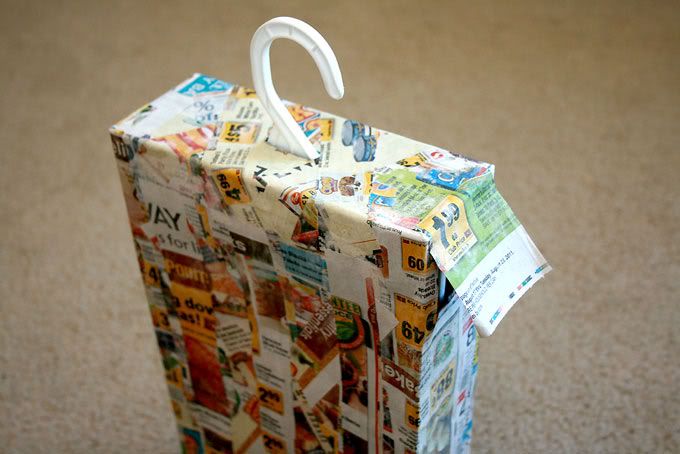
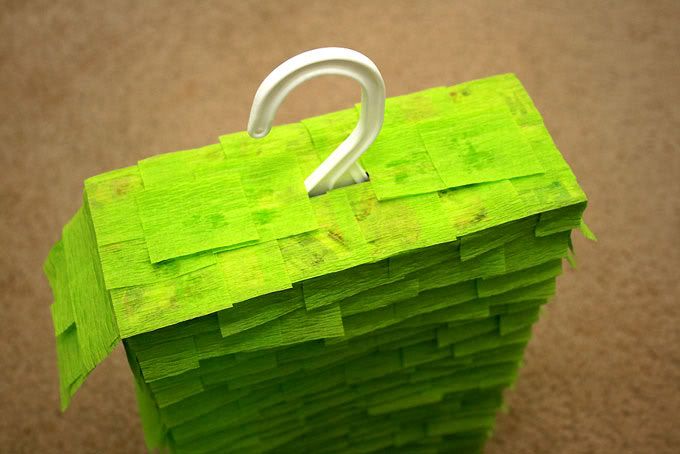
This will be end up being how you get your treats into the pinata once it's ready. Next you'll cut a slot for your hanger in what use to be the bottom of the box and is now the top. I used a child's hanger so it would be nice and sturdy. I also added duct tape around the hole to reinforce it's strength.
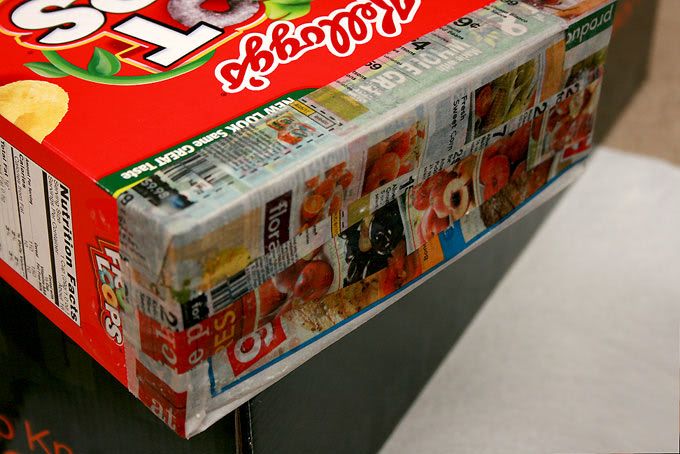
Now make your paper mache mix. I used flour and water, you can use whatever mix you like. If you want specifics on amounts and tips on the best way to make it Google it. There are a ton of different ways. You'll start but covering the bottom of your pinata. I did three layers, letting it dry a little in between each application. I covered the rest of the box with one overlapping layer. You'll want to do more or less depending on who's breaking into it. Mine is for a three year old, I guestimated three layers would be good. I'll find out at the party. I did do extra layers around the top, again to reinforce it. And don't forget to keep your entry hole available.
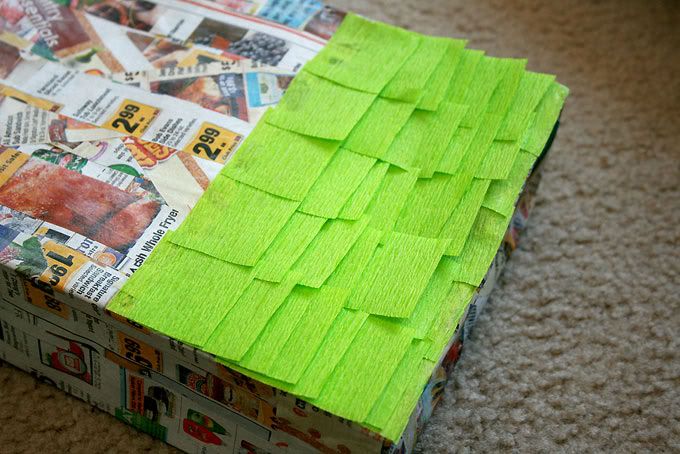
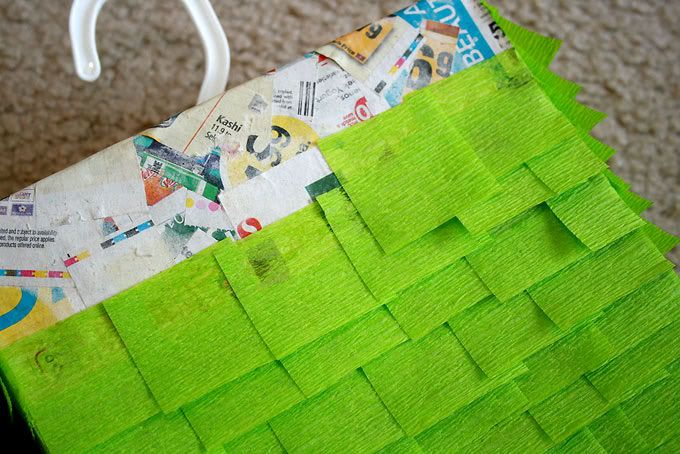
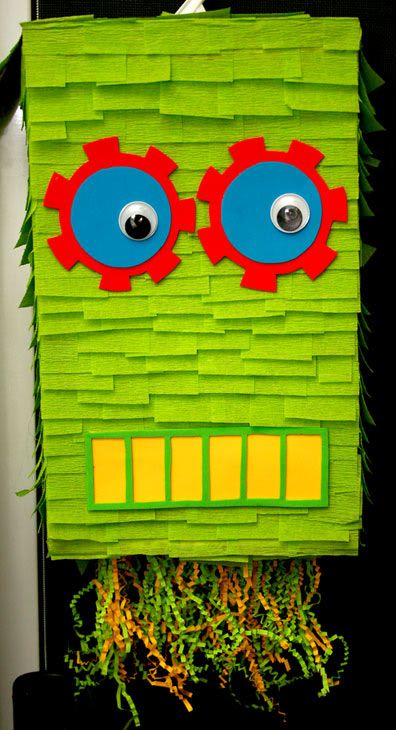
Once it's all dry you get to do the fun stuff, decorate! I took a regular roll of party streamer tissue paper and cut off a bunch of squares. Start at the bottom of the box and work up on the front, back and sides. I just used a glue stick to apply.

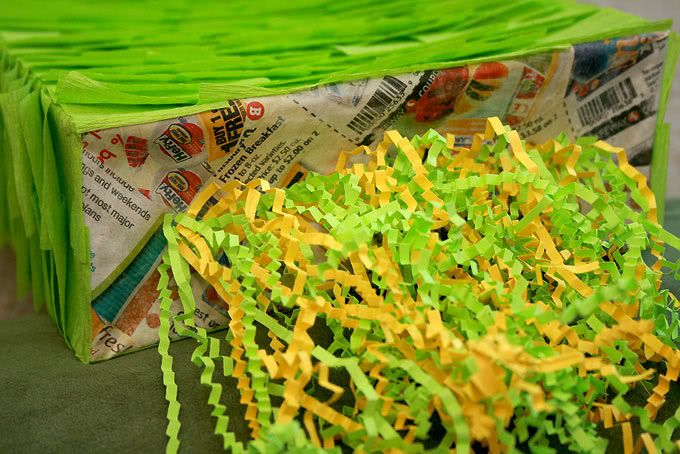
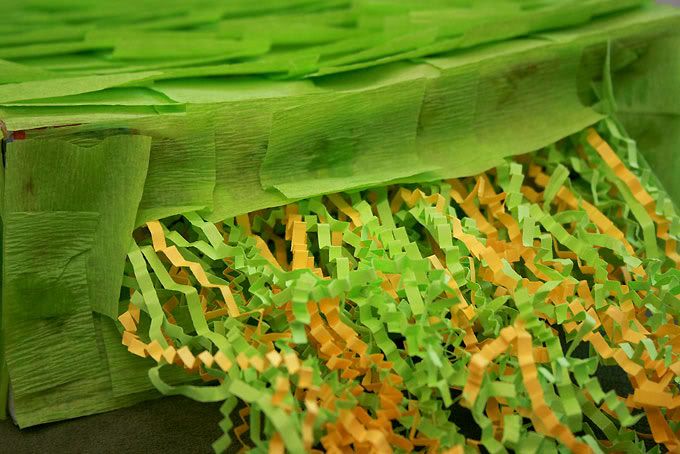
You can layer more or less on the top if you're concerned with the paper showing through. The flash on the camera made it more visible than it is when you're just looking at it. I wasn't concerned with the top. Okay, so the bottom is choice. I chose to add some leftover Easter basket filler I had laying around. I used double sided tape and just did it piece by piece. You could do ribbons, strings, streamers, or nothing at all. I then edged it all with more tissue paper squares to cover the paper mache.
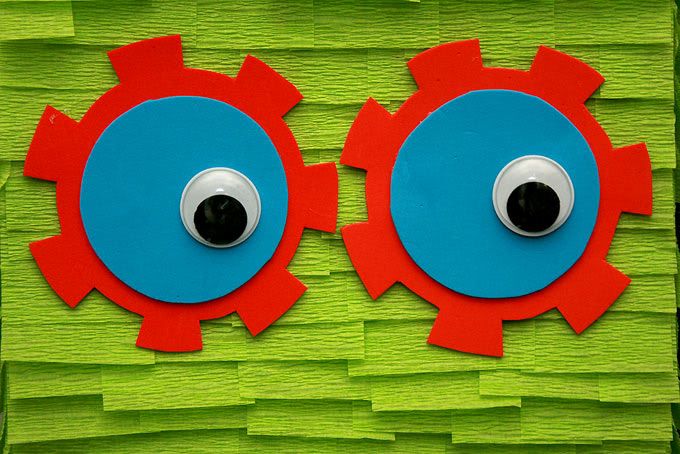
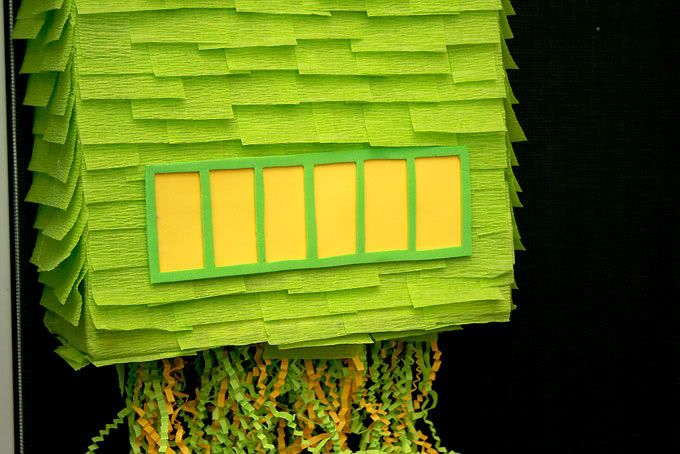
For the eyes and mouth I used colored foam sheets I'd bought at The Dollar Tree forever ago. Worked out great. The goggley eyes came from there too I think... if not you can buy them at any craft store. If you need templates you could always find an image on-line and print. I did mine by tracing a cup and free-handing the gear teeth. The mouth speaks for itself. I haven't decided on the nose yet, but I'm either just going to cut out some colorful shape or use a bottle cap, give it bit of metal, could be cute. For these things I used a hot glue gun to apply. I don't want them falling off on the first hit.
So there you have it. A robot pinata from scratch. I'd estimate the cost at a couple of bucks, not counting the candy. You can up-cycle things you have laying around for decoration. Pretty neat. I'm pretty proud of my creation and I Jude is pretty stoked about it himself.
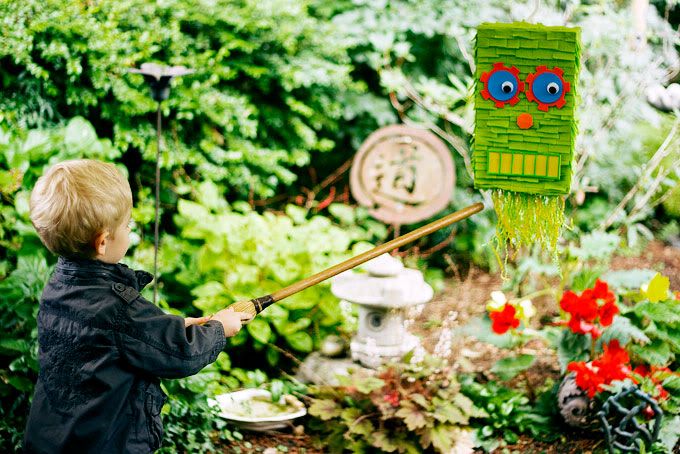
{Jude takes a swing!}
No comments:
Post a Comment